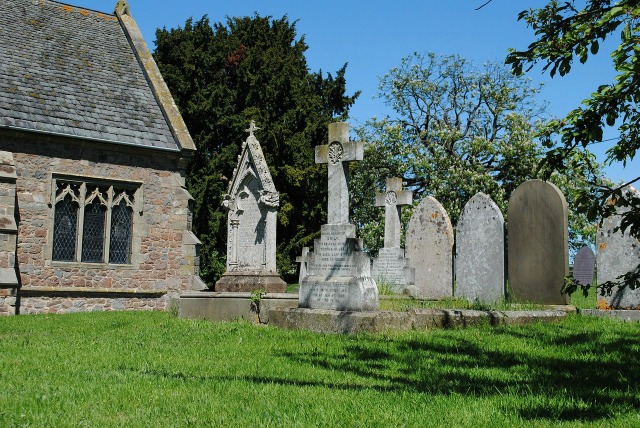
9 Tips for Photographing Gravestones
Overtime, the information on gravestones may deteriorate and disappear forever. Taking photographs of these markers now is essential to preserving them for future generations. This fun activity is perfect for genealogists and family historians.
Here are some tips to keep in mind for your next adventure to the cemetery:
1. Ask for permission
Before taking your first snapshot, make sure you have permission to take photographs in the cemetery. A quick search online for the cemetery’s website or a phone call to the cemetery office will let you know if you can head on out there to take pictures.
2. Find the location of the grave beforehand
If possible, try to find the location of the grave before hand. This may help you save some time at the cemetery. If you’re unable to find the information in advanced, stop by the cemetery’s office to ask for a map or assistance in locating the grave site.
3. Take a photograph of the entrance
During your visit, be sure to take some time to grab a photograph of the cemetery’s entrance for your records. It’s a great memory to have for the future.
4. Download the BillionGraves app
In 2014, Geni and BillionGraves partnered to preserve the world’s cemeteries. Before setting off, make sure you have downloaded the BillionGraves app to contribute to our global initiative to document and record cemeteries around the world. Not only will you be able to preserve your ancestors’ headstones, but you can also help record the gravestones for the ancestors of many others.
See the BillionGraves Team Portal
When you get home, you can upload the photos to BillionGraves and help transcribe them. Once transcribed, they will be available as Record Matches to profiles on Geni.
5. Bring the right gear
It’s always best to double check that you have packed all the equipment that you will need. If you’re taking photographs with your cell phone, then you will want to make sure to bring a backup charger to charge your phone. You don’t want your excursion to be cut short because of low battery!
Some cemeteries may not have regular upkeep, so you might find some graves may need a little cleaning before taking a photograph. Bring a small spray water bottle and tools to remove overgrown weeds so you can get a clearer image of the gravestone. However, be careful when clearing debris and foliage so that you don’t damage the headstone.
6. Take multiple photos
Now that we don’t have to worry about filling up a roll of film, you can take multiple photos from various angles to make sure you get the perfect shot. Take photographs of the surrounding area too. Often members of the same family will be buried near each other.
7. Choose the best time of day
When taking your photos, you’ll want to make sure to head out at the best time with the most light. The timing will depend on the location of the headstone and the direction it is facing, but in general, you’ll want the sun to be shining at an angle so you can pick up all the details.
8. Use water to enhance inscriptions
Are you having trouble picking up the inscriptions in the photo? Spray a bit of water on the surface to enhance the inscriptions. Do not use anything else besides water or you may cause damage to the surface.
9. Be respectful of your surroundings
This is very important to keep in mind. Be respectful of mourners visiting the cemetery and funerals. If you move flowers or remembrance items, make sure you remember to place them back once you are done.
Have you photographed your ancestors’ gravestones? What are your best tips?


 Genealogy Discussions
 Genealogy Projects
 Popular Genealogy Profiles
 Surnames
 The Geni Blog
 The World Family Tree