How To: Print Your Tree
Printing your tree with Geni is very easy. We have two methods of going about it: Order a professional print job or print it yourself on your home printer. Let’s start with how to order a print.
In the tree view, you’ll see a series of buttons in the lower right-hand corner. Click on the printer icon.
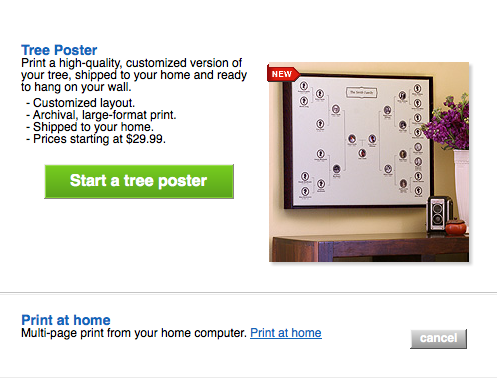
You’ll be brought to this screen. Click the green “Start a Tree Poster” button to begin.
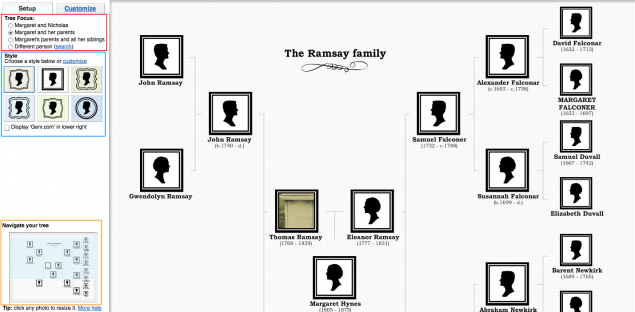
Now you’ll be able to design your very own custom tree poster. We start off using the “Setup” tab. Highlighted in the red box is the focus controls. This allows you to change who you want the poster to be centered around. The blue box highlights the border selection. Here you can change what the border are your pictures look like. The orange box highlights the navigation. You can drag the display around to look at your whole tree poster in detail.
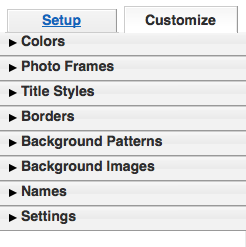
Now we switch over to the “Customize” tab. Here are a series of drop down menus that allow you granular control of how your tree poster looks. When you’re done making selections, click the “Checkout” button to purchase the poster.
Now let’s go back to the original print menu. At the bottom, you’ll see a link that says “Print at home.” Click that to setup your print-out settings.
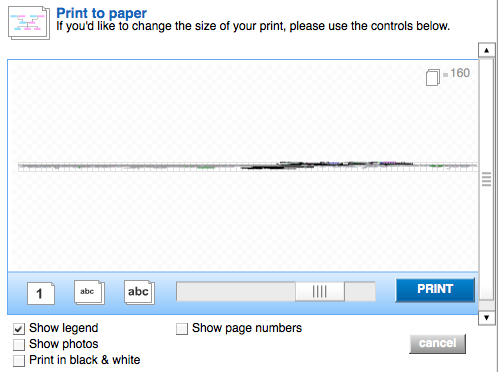
In this display, you’ll be able to choose how many pages you would like the tree to use. You can also toggle a legend, photo display, color, and page number display. When you’re finished, click the “Print” button. You’ll then be able to tape your pages together to make one large family tree poster.


 Genealogy Discussions
 Genealogy Projects
 Popular Genealogy Profiles
 Surnames
 The Geni Blog
 The World Family Tree